Finding the track lanes, Part I

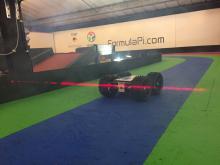
So we have our YetiBorg fitted with a Raspberry Pi camera on the track ready to race.
The question for today is, how does he know where the track is going?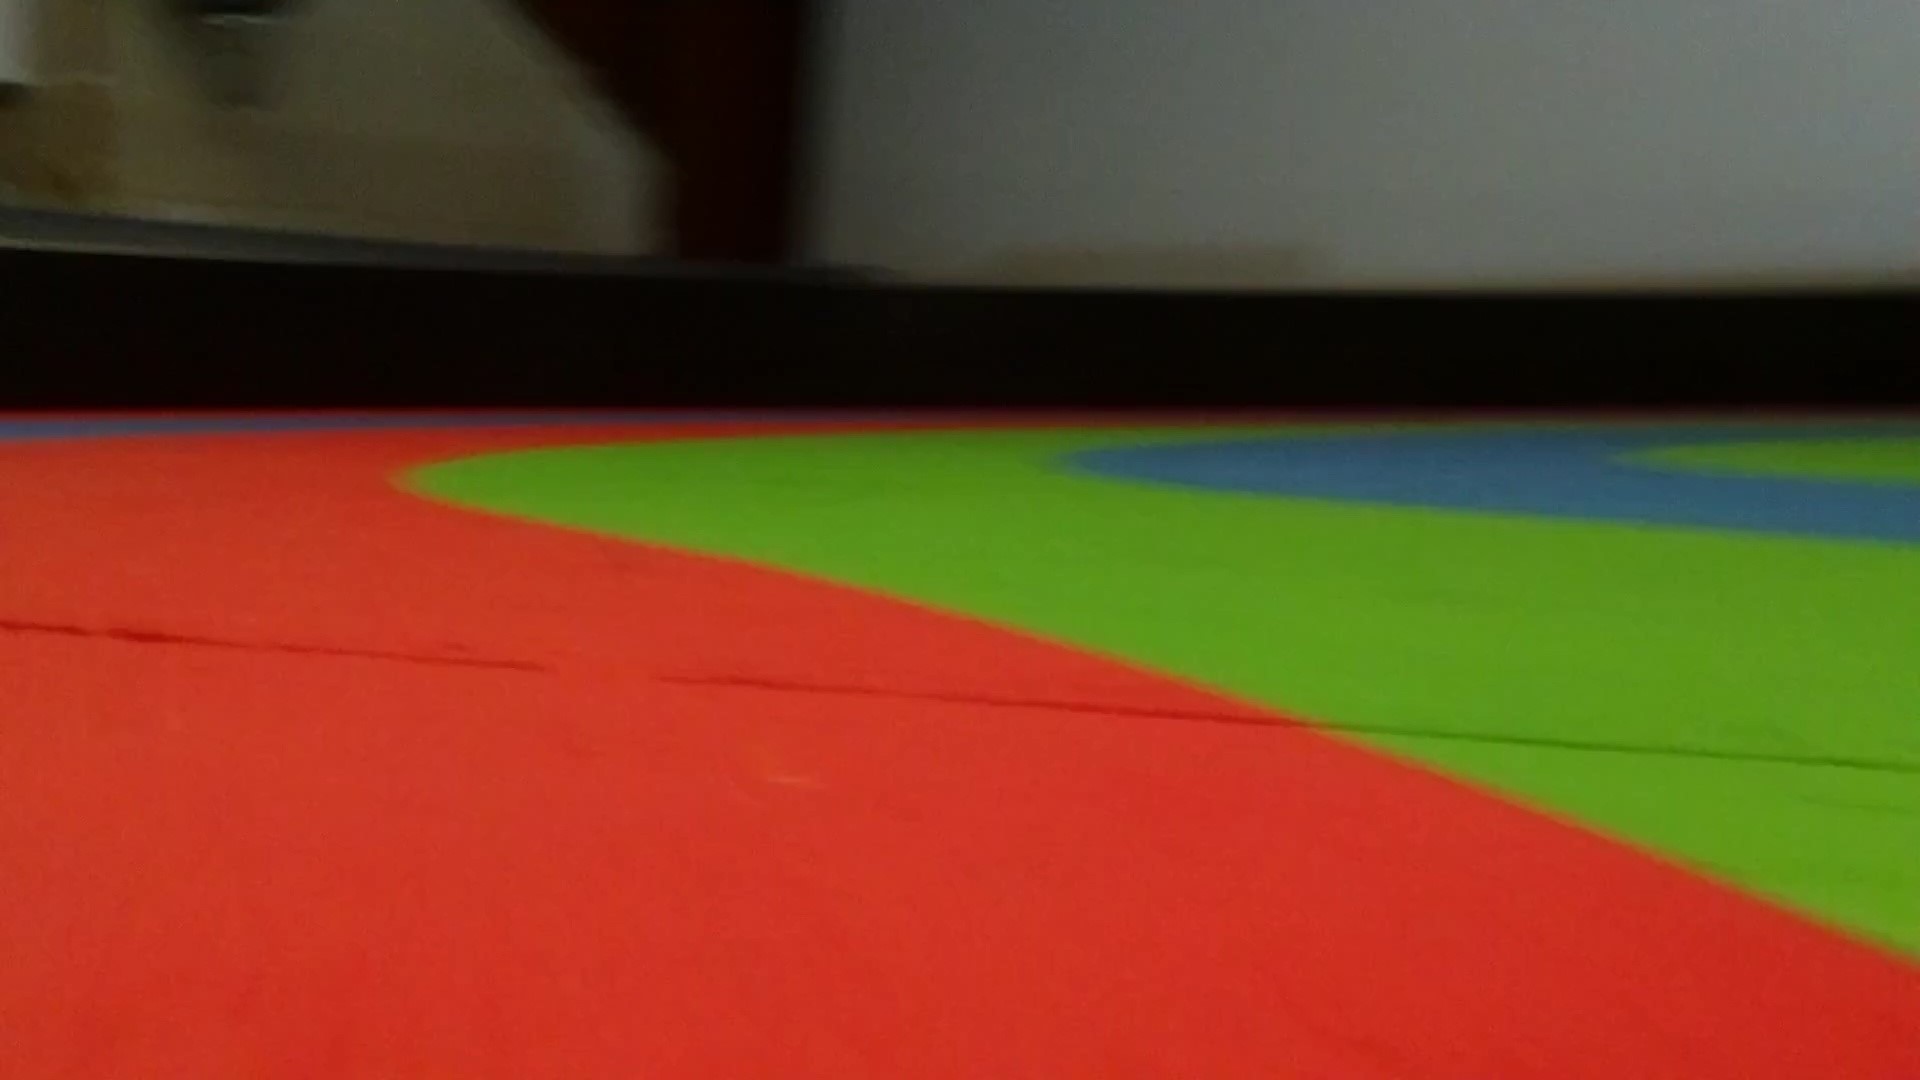
There are quite a few different ways of figuring this out, but we have two additional needs:
- We want to know where we are on the track
- The processing needs to be nice and fast
The additional requirements limit what we can do:
- Line following is out, it would not know which lane it is in
- Apart from the start line there are no special marks on the track
- We want to try and avoid using many images at once as this will make the processing slow
- Detailed analysis of the image is too time consuming
The best way to look at these problems is to start from what we know:
- The part of the image which can see the track is in roughly he same place each frame
- The walls are approximately black
- The lanes are in bright colours
- There is an order to the colours
Lets start with getting the correct part of the image.
First we will want our usual libraries and the image to work with:
import cv2
import numpy
image = cv2.imread('frame.jpg')
What we want to do is known as cropping.
This is where we chop out the parts of the image we do not want.
In our image we do not need the top part.
We can remove it like this:
height, width, channels = image.shape
cropTop = height * 0.3
cropBottom = height * 1.0
cropped = image[cropTop:cropBottom, :, :]
cv2.imwrite('cropped.jpg', cropped)
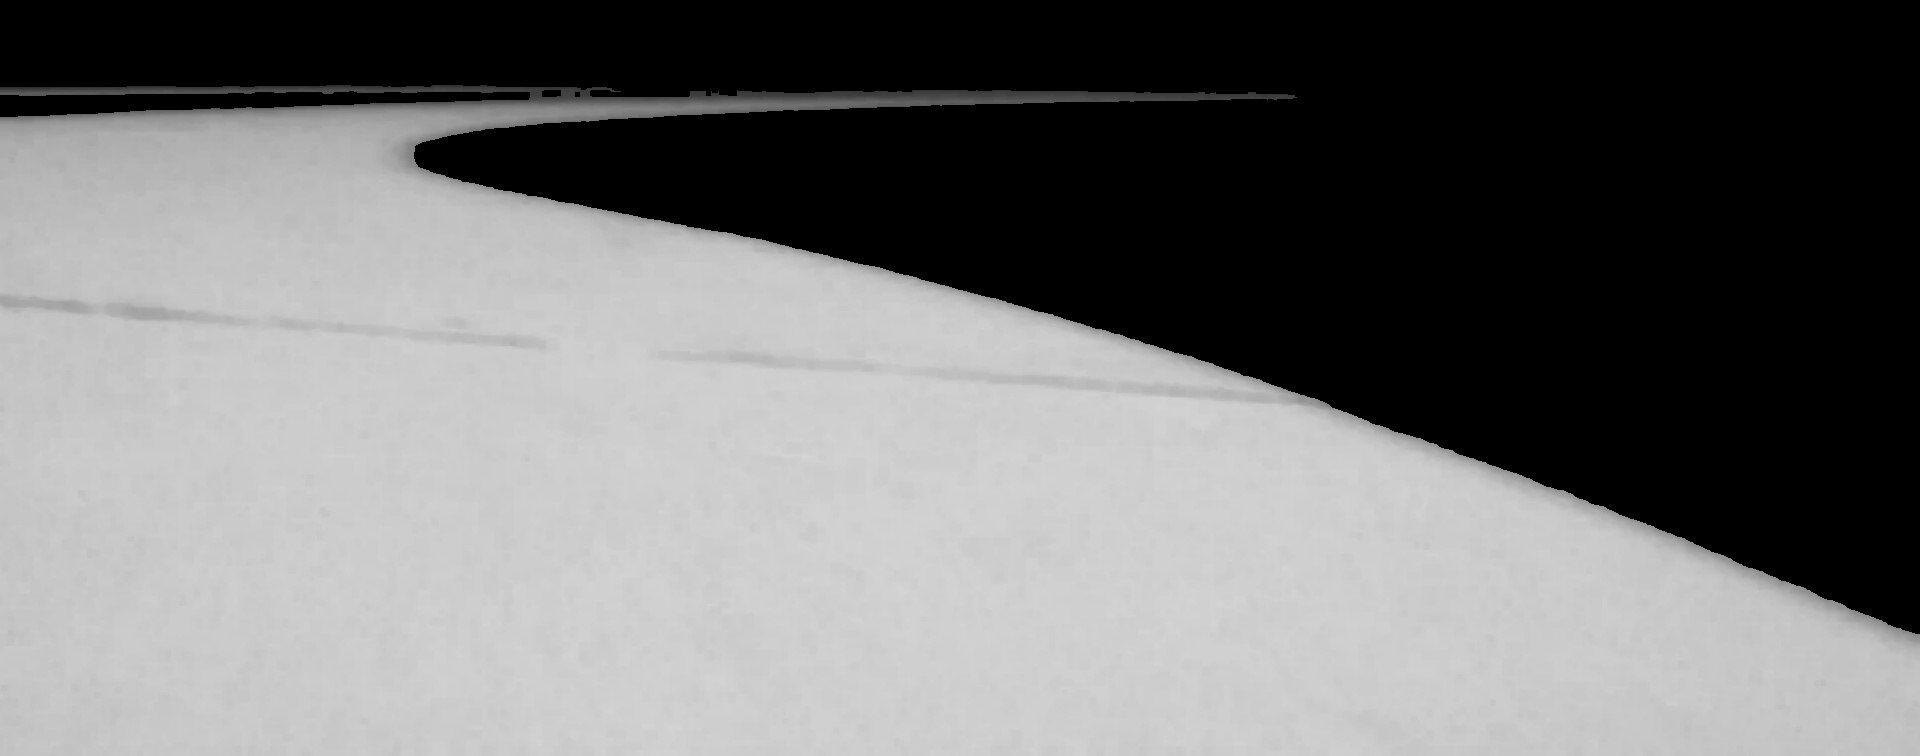
This gives us the following image: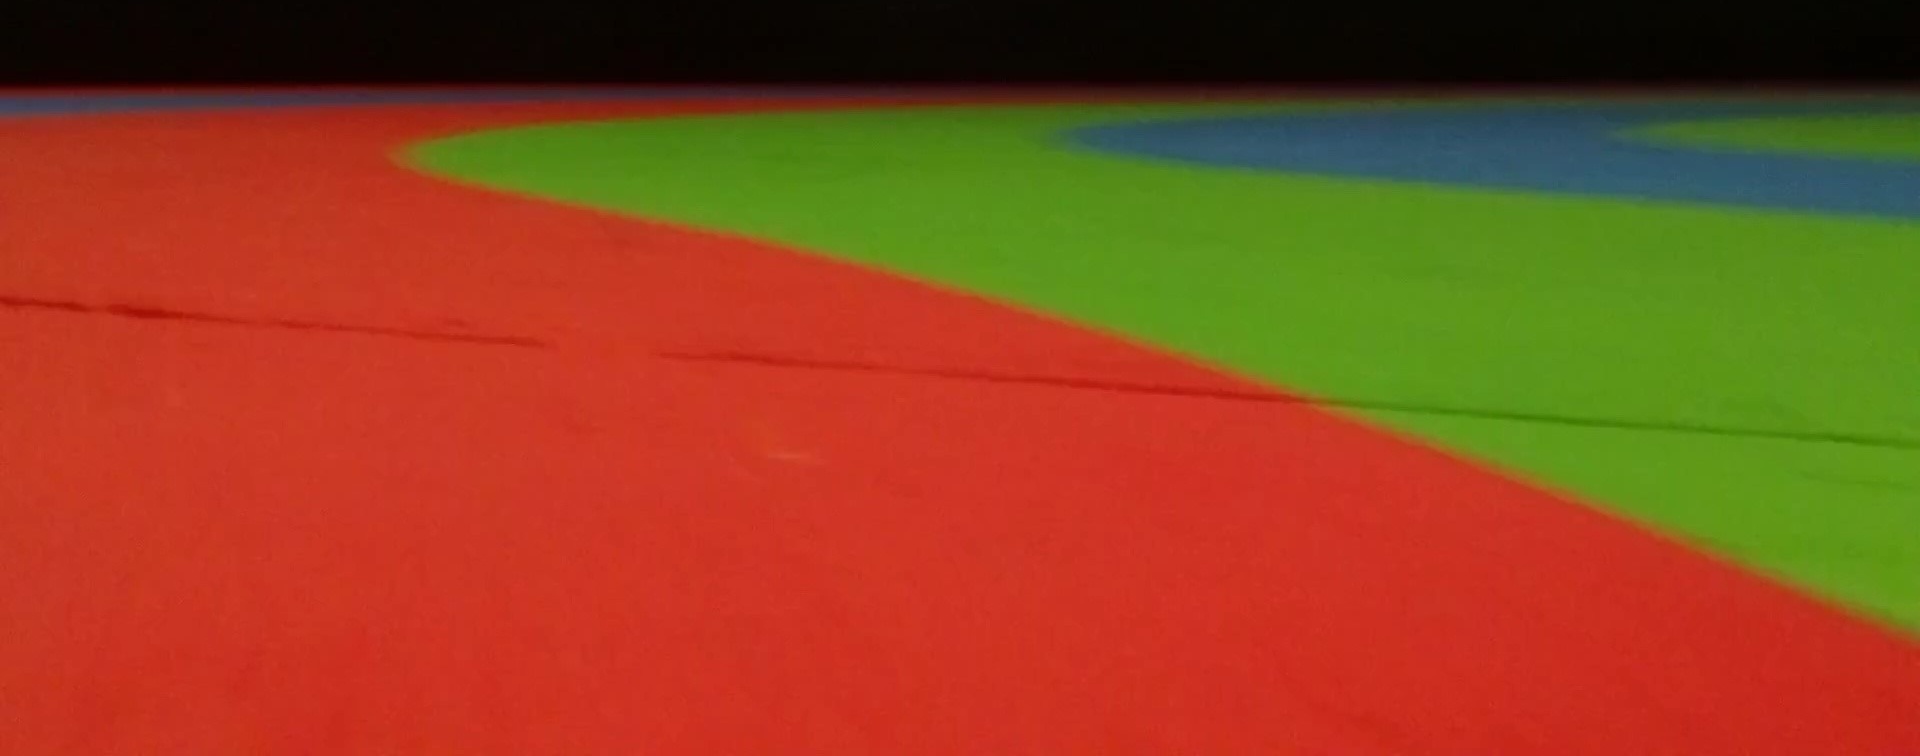
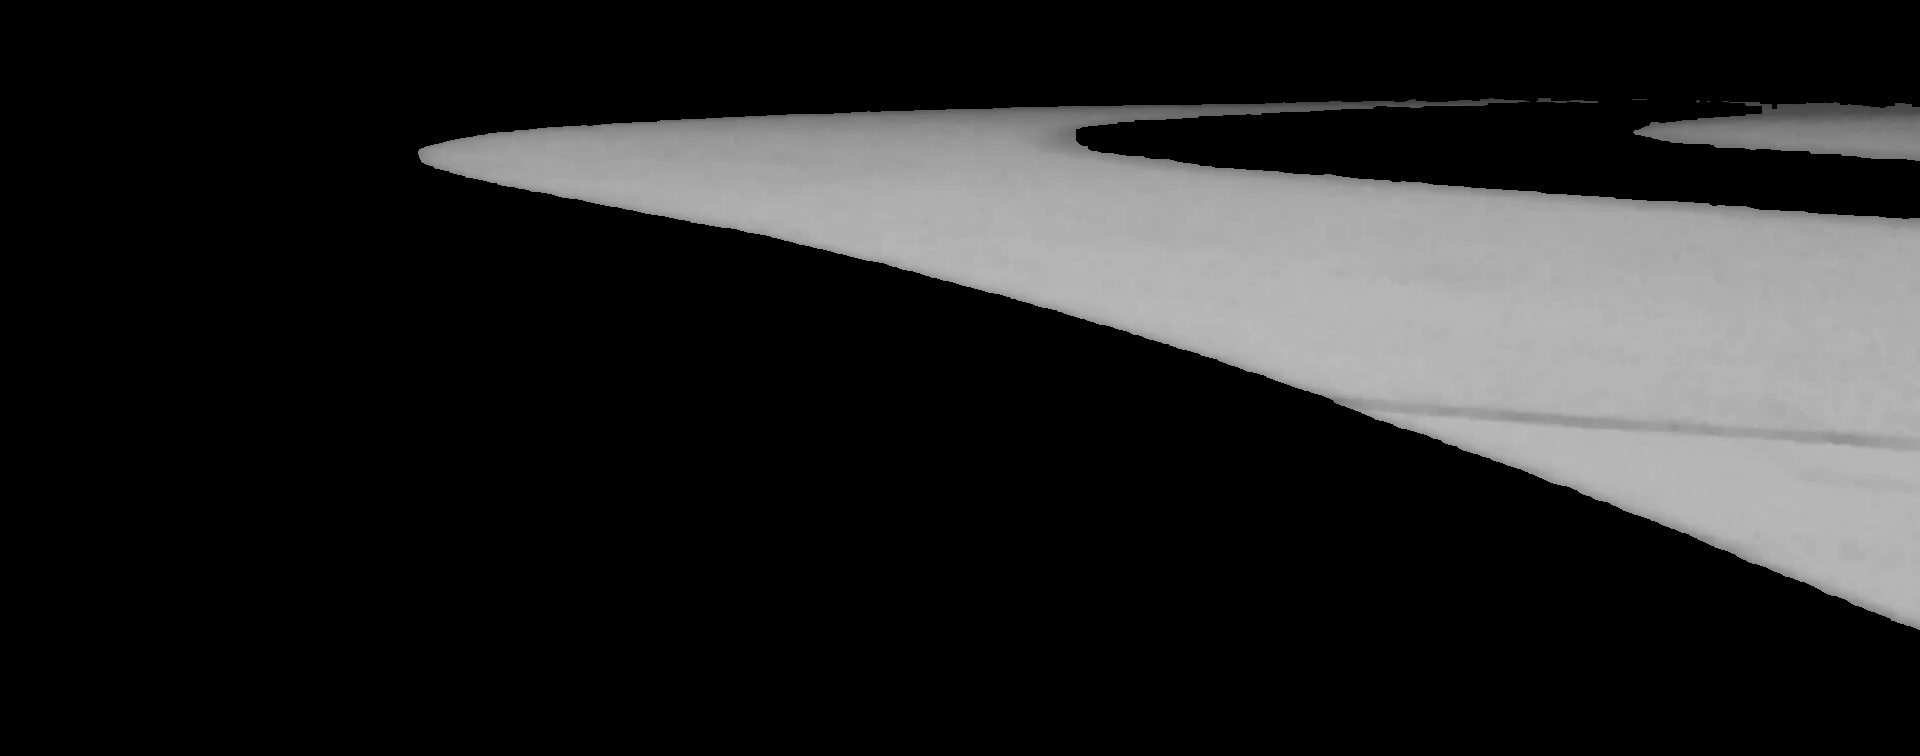
Now we have removed the background we can try and find any walls.
Looking at the image they should be much darker than the rest of the track.
We can generate a mask of what parts of the image are dark enough like this:
wallR = 60
wallG = 60
wallB = 60
walls = cv2.inRange(cropped, numpy.array((0, 0, 0)), numpy.array((wallB, wallG, wallR)))
cv2.imwrite('walls.jpg', walls)
Which gives us this mask: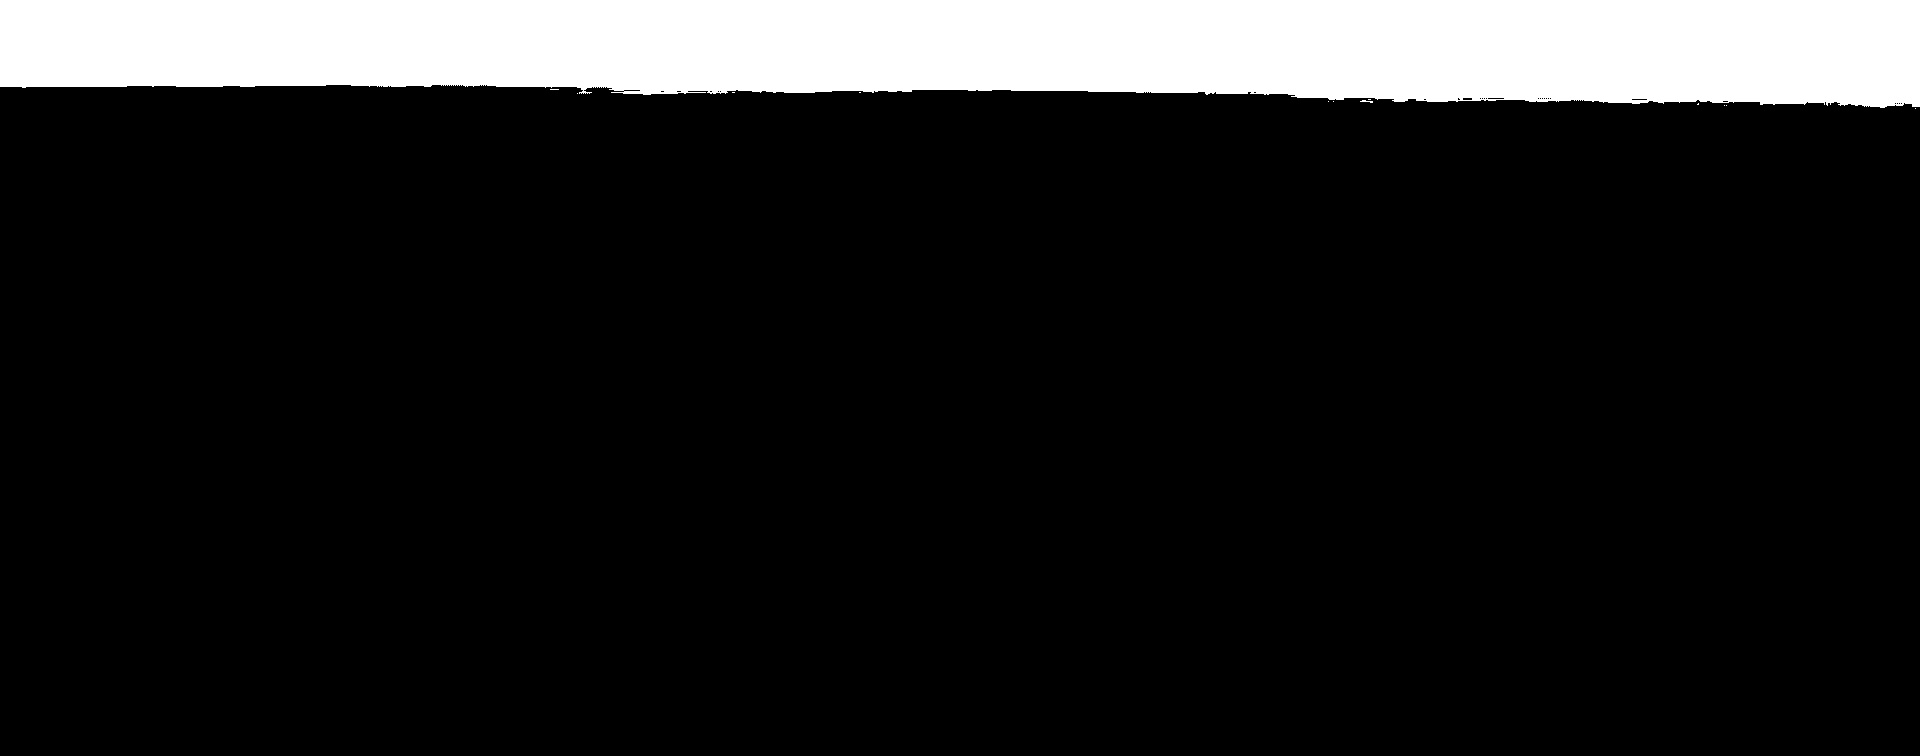
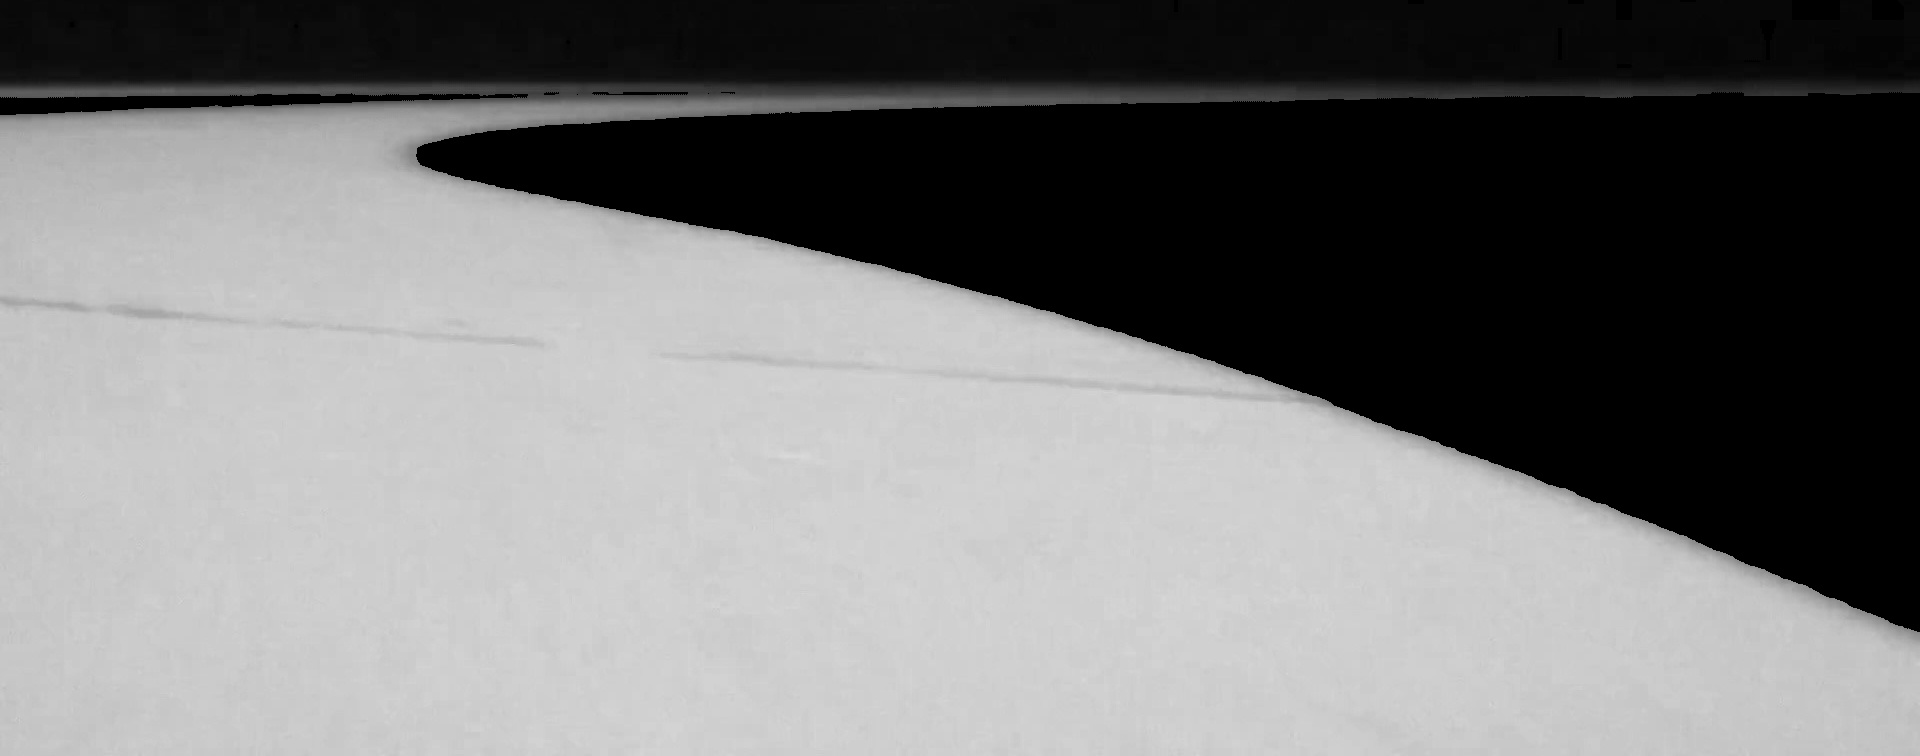
The walls are a bit untidy, we can remove some of the noise by using a filter.
We will use an erosion filter to reduce the mask slightly, this is cheap and will remove small areas of noise.
erodeSize = 5
erodeKernel = numpy.ones((erodeSize, erodeSize), numpy.uint8)
walls = cv2.erode(walls, erodeKernel)
cv2.imwrite('walls2.jpg', walls)
Which gives us a version which is slightly more tidy: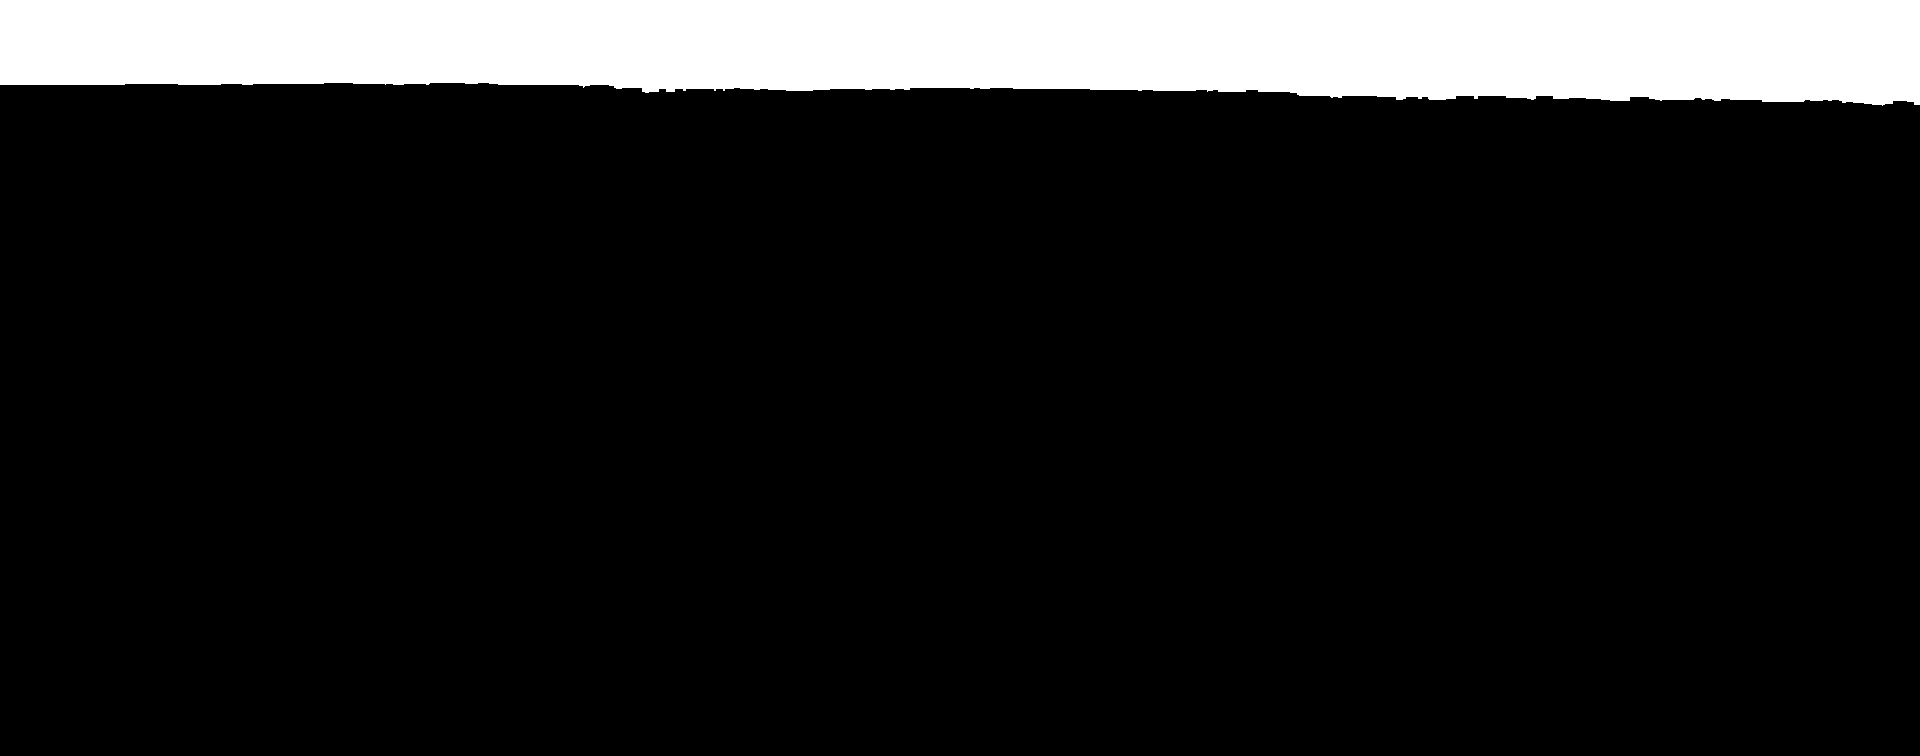
The larger erodeSize is, the more the edge of the wall is taken away.
Too large and the wall will be inaccurate, too small and we will see bits of "wall" in strange places.
The next step is to split the colour channels apart.
blue, green, red = cv2.split(cropped)
cv2.imwrite('blue.jpg', blue)
cv2.imwrite('green.jpg', green)
cv2.imwrite('red.jpg', red)
This gives: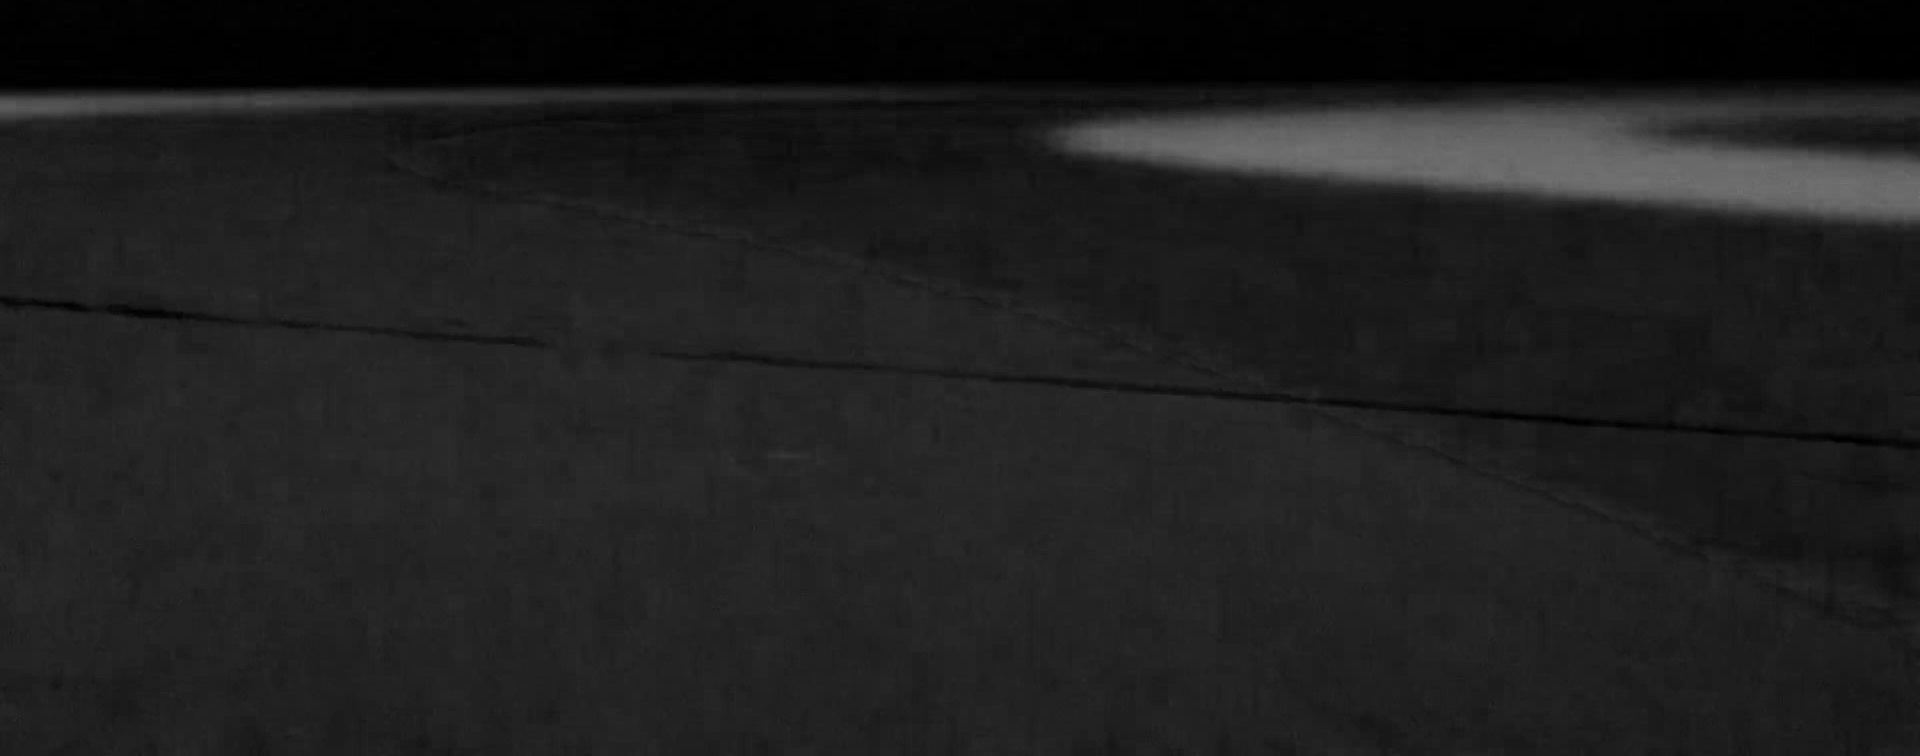
In each image the track of interest is bright compared to the others.
If we get the largest of the three channels we can compare them:
maxImage = numpy.maximum(numpy.maximum(blue, green), red)
cv2.imwrite('max.jpg', maxImage)
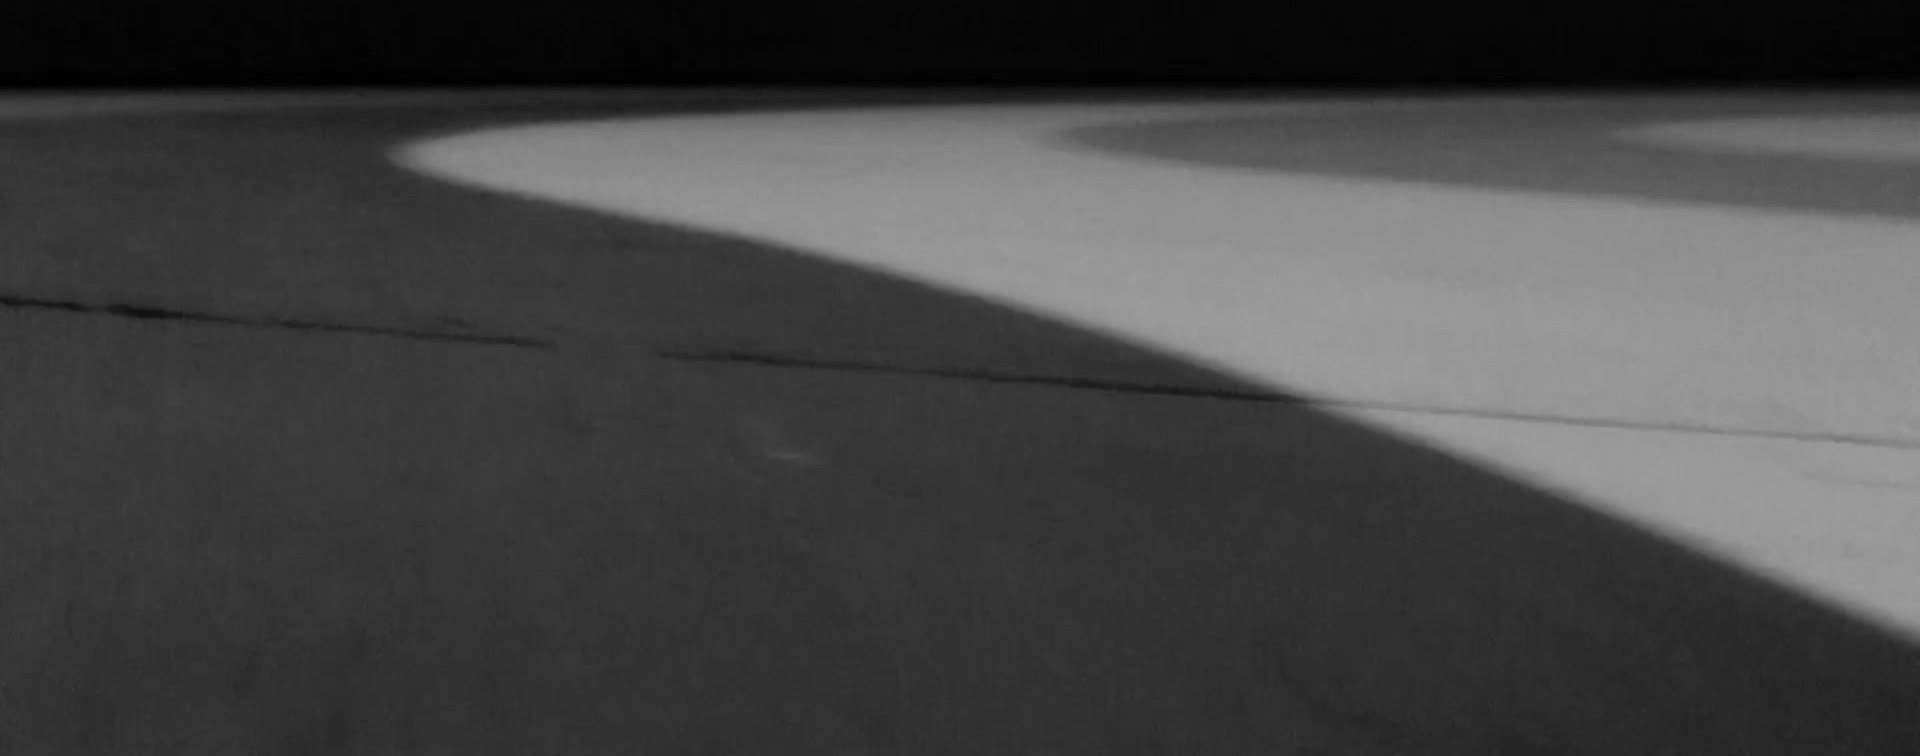
This give us: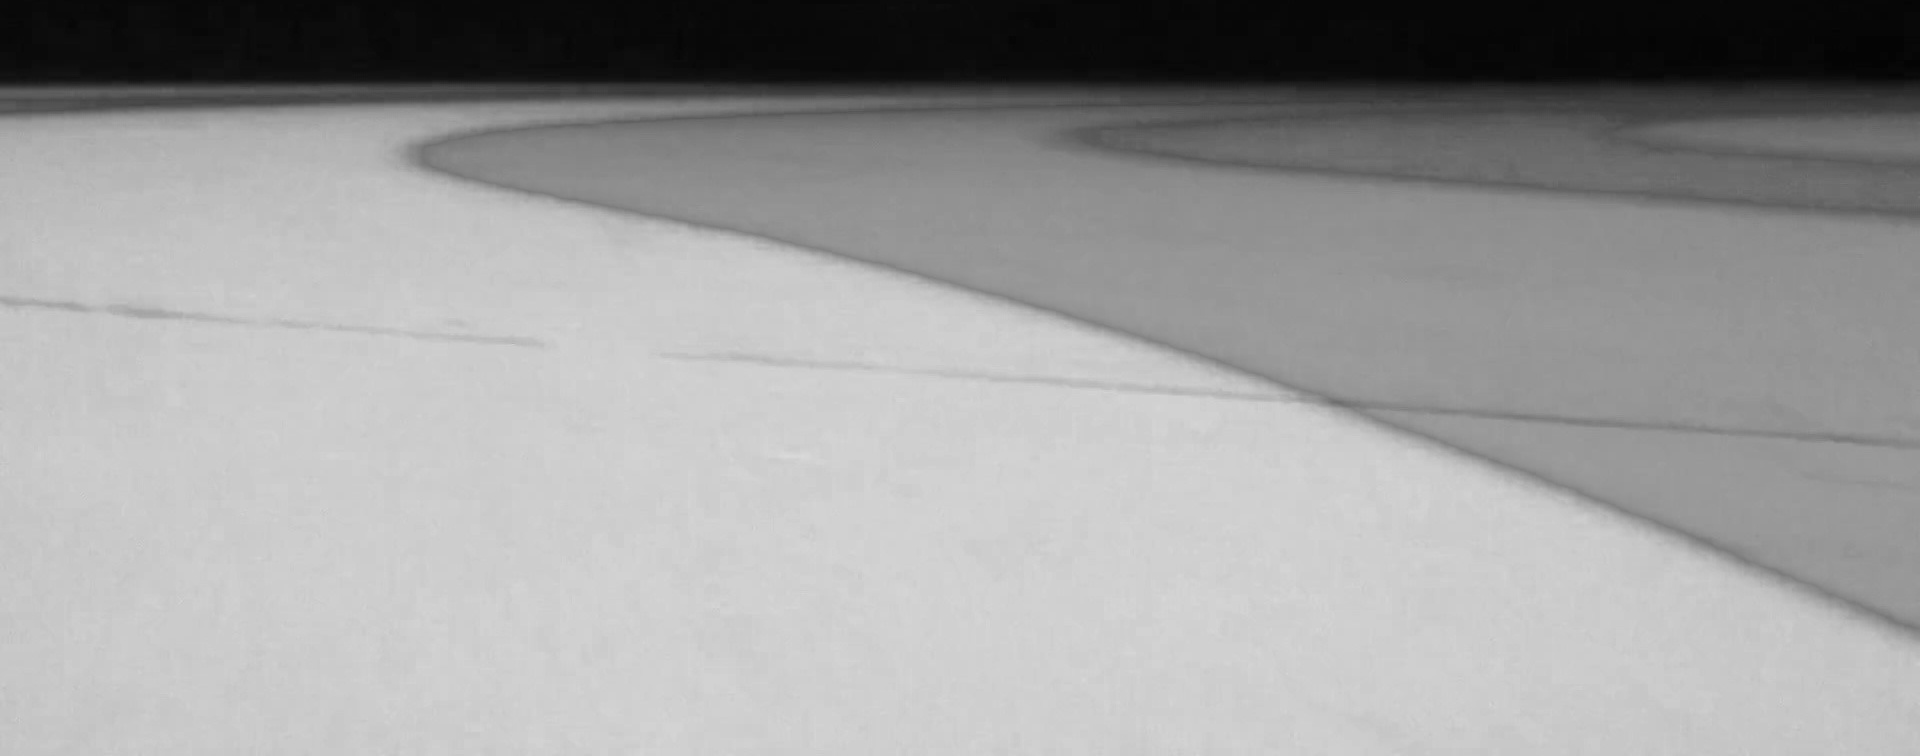
The levels are not quite the same, but they are roughly correct.
We can do a bit better by adjusting the green and blue levels a bit:
# Apply gains
red = red * 1.0
green = green * 1.2
blue = blue * 1.5
# Limit the range of values to the standard limits
red   = numpy.clip(red,   0, 255)
green = numpy.clip(green, 0, 255)
blue  = numpy.clip(blue,  0, 255)
red   = numpy.array(red,   dtype = numpy.uint8)
green = numpy.array(green, dtype = numpy.uint8)
blue  = numpy.array(blue,  dtype = numpy.uint8)
# Redo the maximum calculation
maxImage = numpy.maximum(numpy.maximum(blue, green), red)
cv2.imwrite('max2.jpg', maxImage)
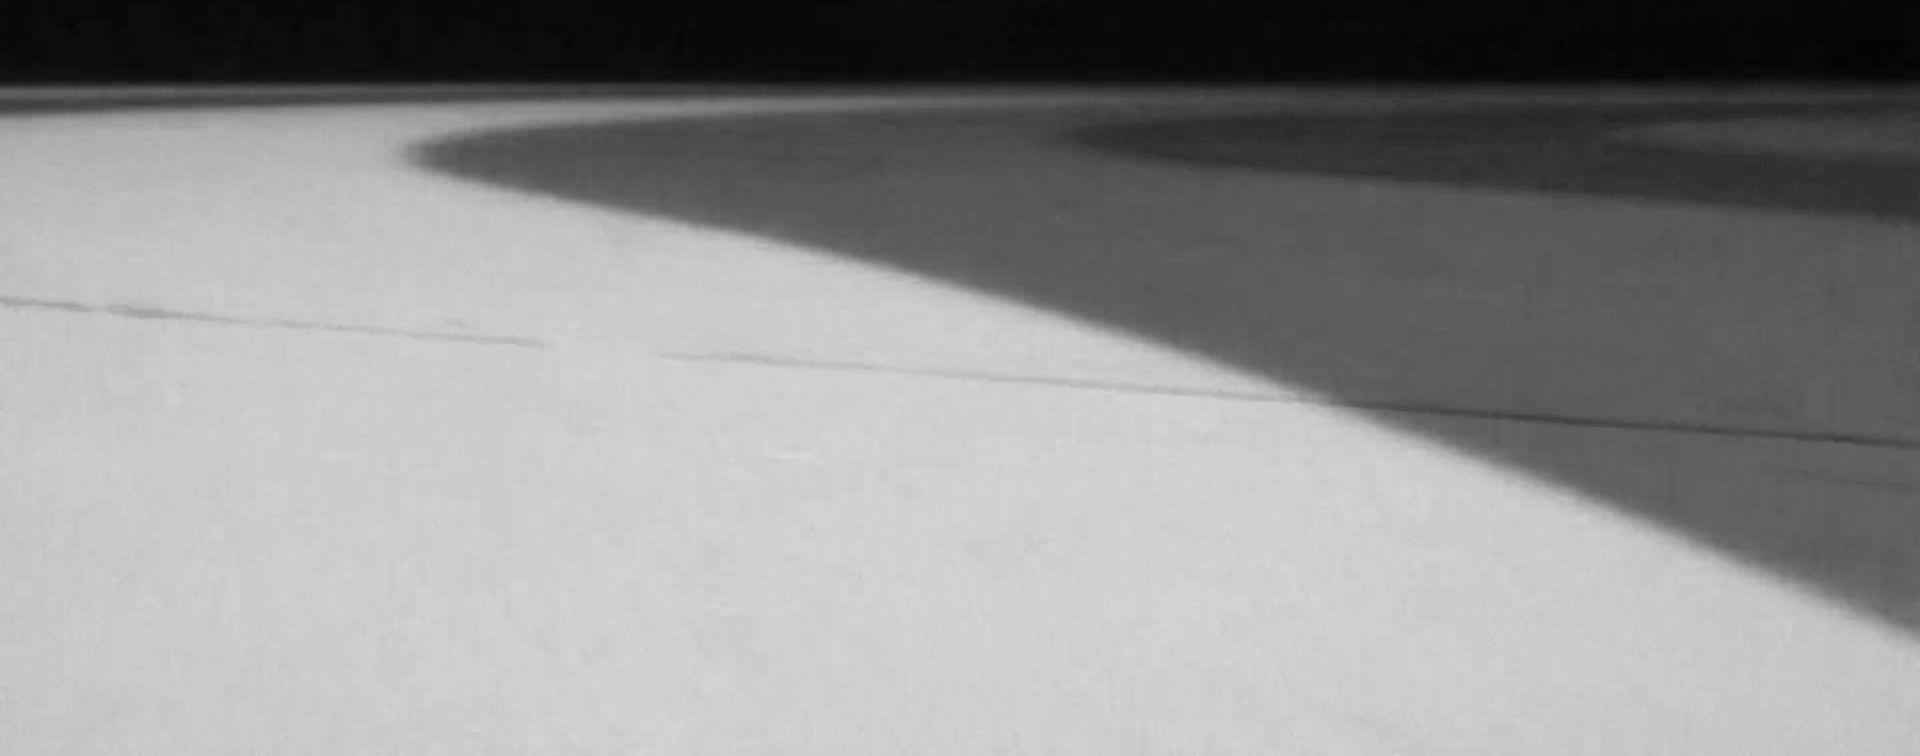
which gives a much more level set of values for the track: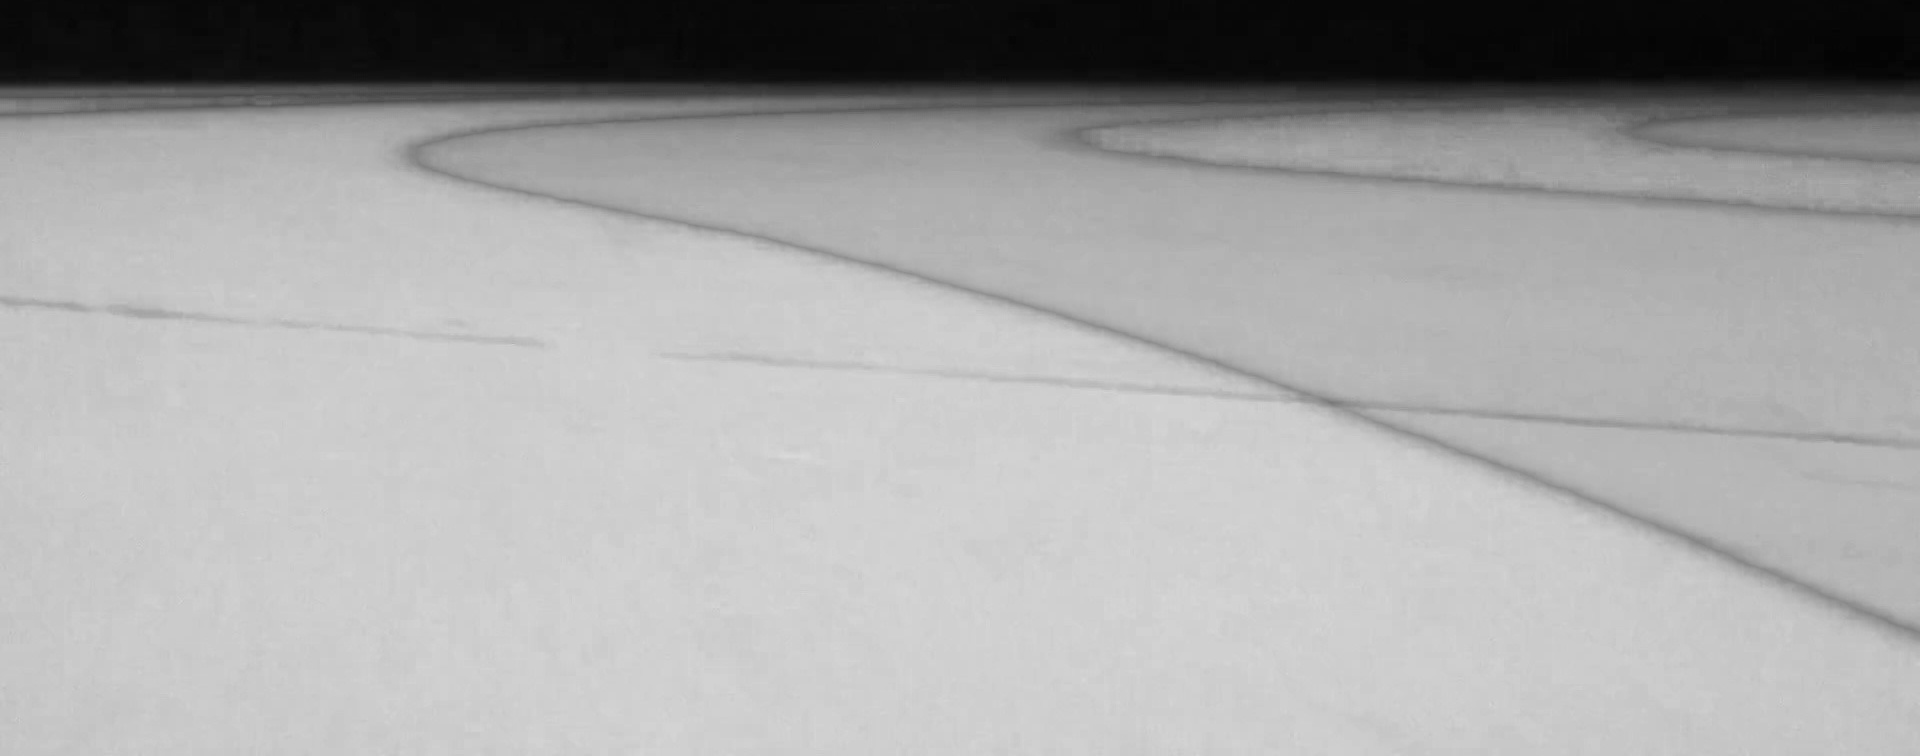
Now we remove any areas which are not the highest from each image:
red  [red   < maxImage] = 0
green[green < maxImage] = 0
blue [blue  < maxImage] = 0
cv2.imwrite('blue2.jpg', blue)
cv2.imwrite('green2.jpg', green)
cv2.imwrite('red2.jpg', red)
This gives: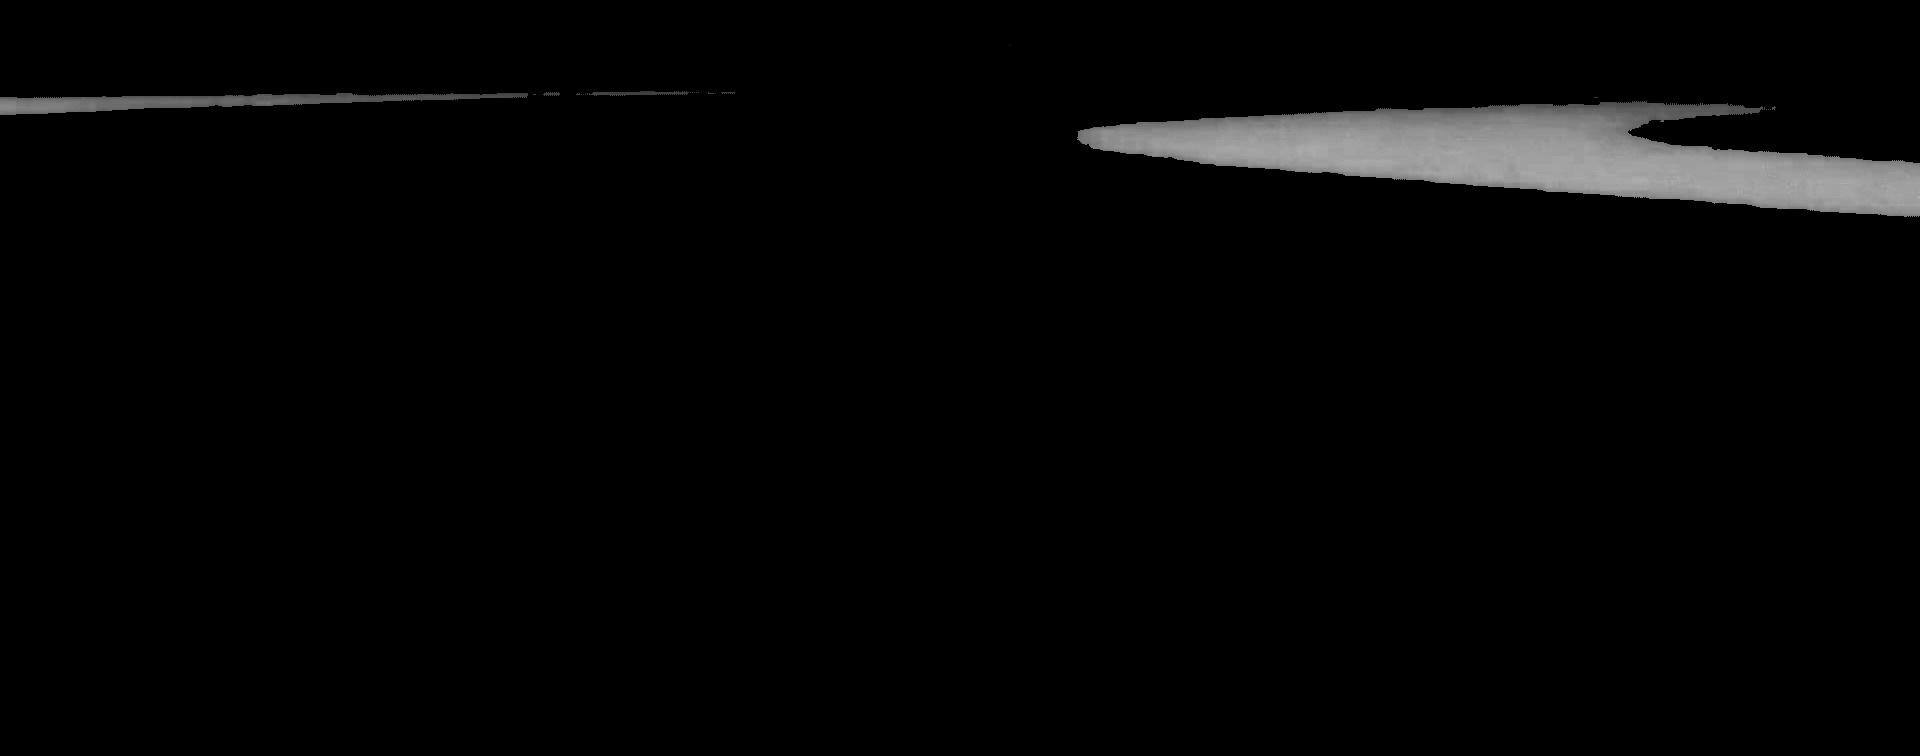

We can see this a bit clearer as a single image:
merged = cv2.merge([blue, green, red])
cv2.imwrite('merged.jpg', merged)
Which is fairly clear which lane is which: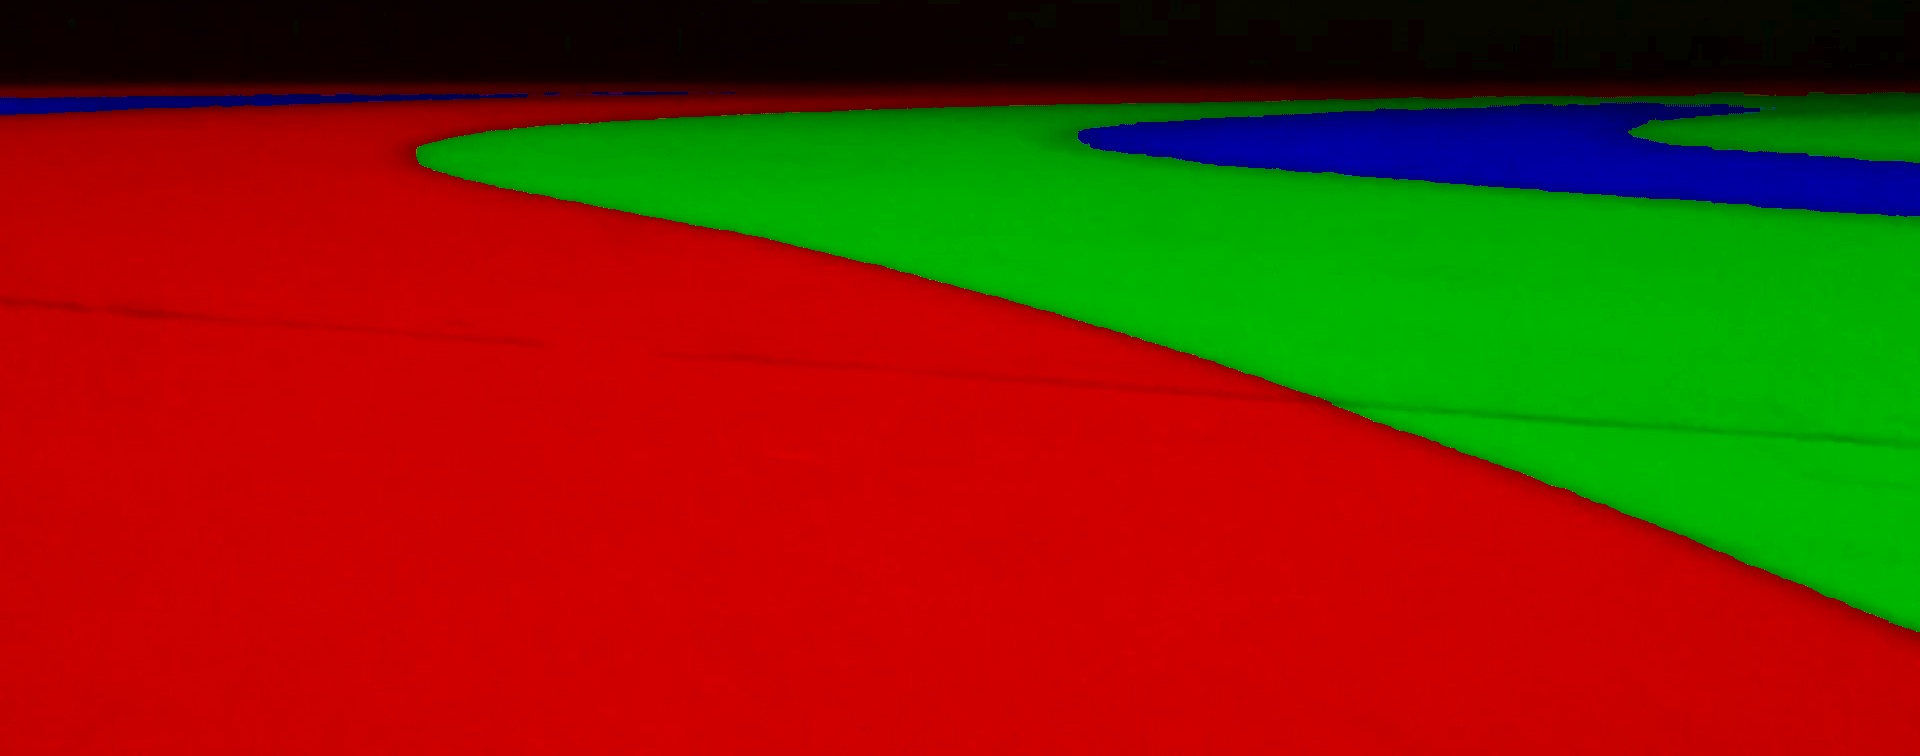
If we turn the colours up though:
highLevel = merged * 10.0
highLevel = numpy.clip(highLevel, 0, 255)
highLevel = numpy.array(highLevel, dtype = numpy.uint8)
cv2.imwrite('highLevel.jpg', highLevel)
we can see the wall is in all three colours: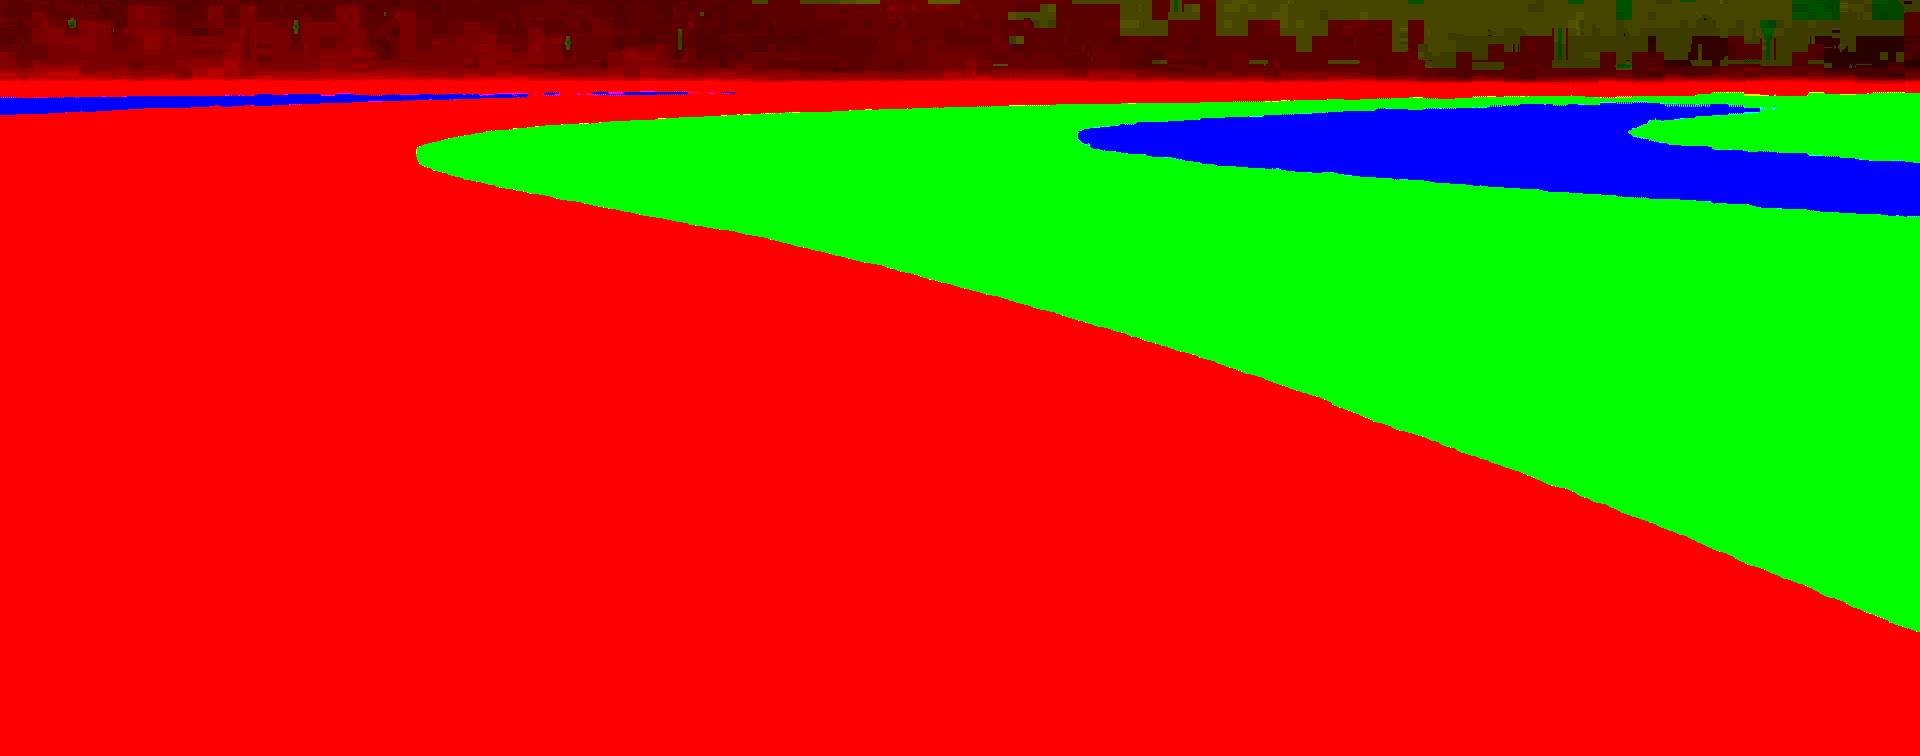
We will want to use each colour channel as a mask like the wall image.
What we need to do is remove the found wall from all three channels:
exclude = walls > 0
red  [exclude] = 0
green[exclude] = 0
blue [exclude] = 0
then perform the same erosion to remove noise:
red   = cv2.erode(red,   erodeKernel)
green = cv2.erode(green, erodeKernel)
blue  = cv2.erode(blue,  erodeKernel)
cv2.imwrite('blue3.jpg', blue)
cv2.imwrite('green3.jpg', green)
cv2.imwrite('red3.jpg', red)
which gives these channel images: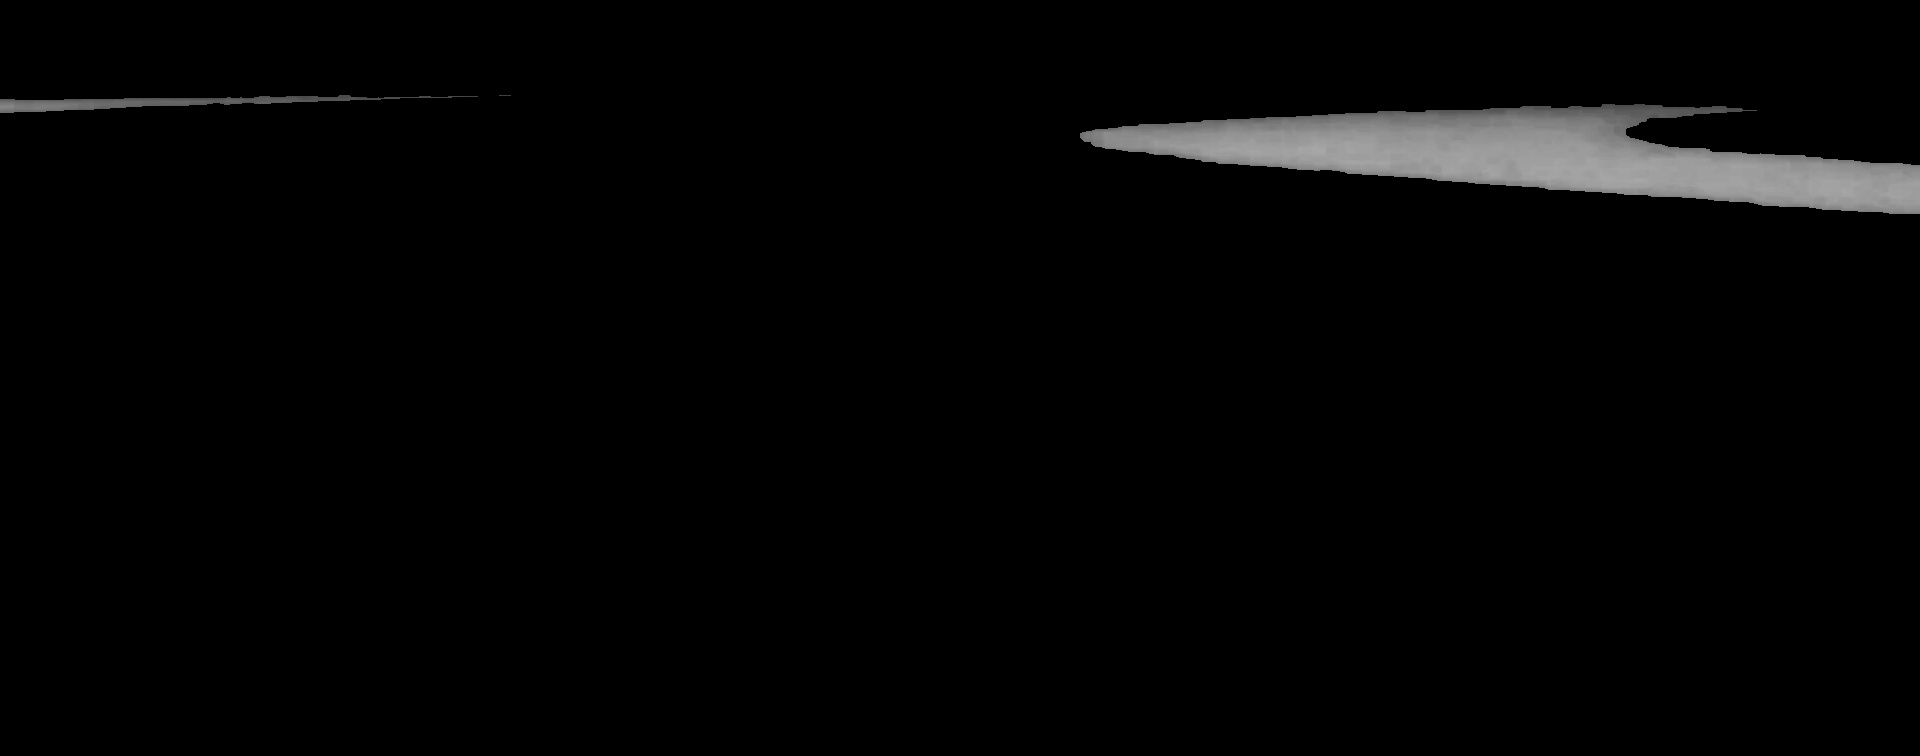
If we merge them now we get:
merged = cv2.merge([blue, green, red])
cv2.imwrite('merged2.jpg', merged)
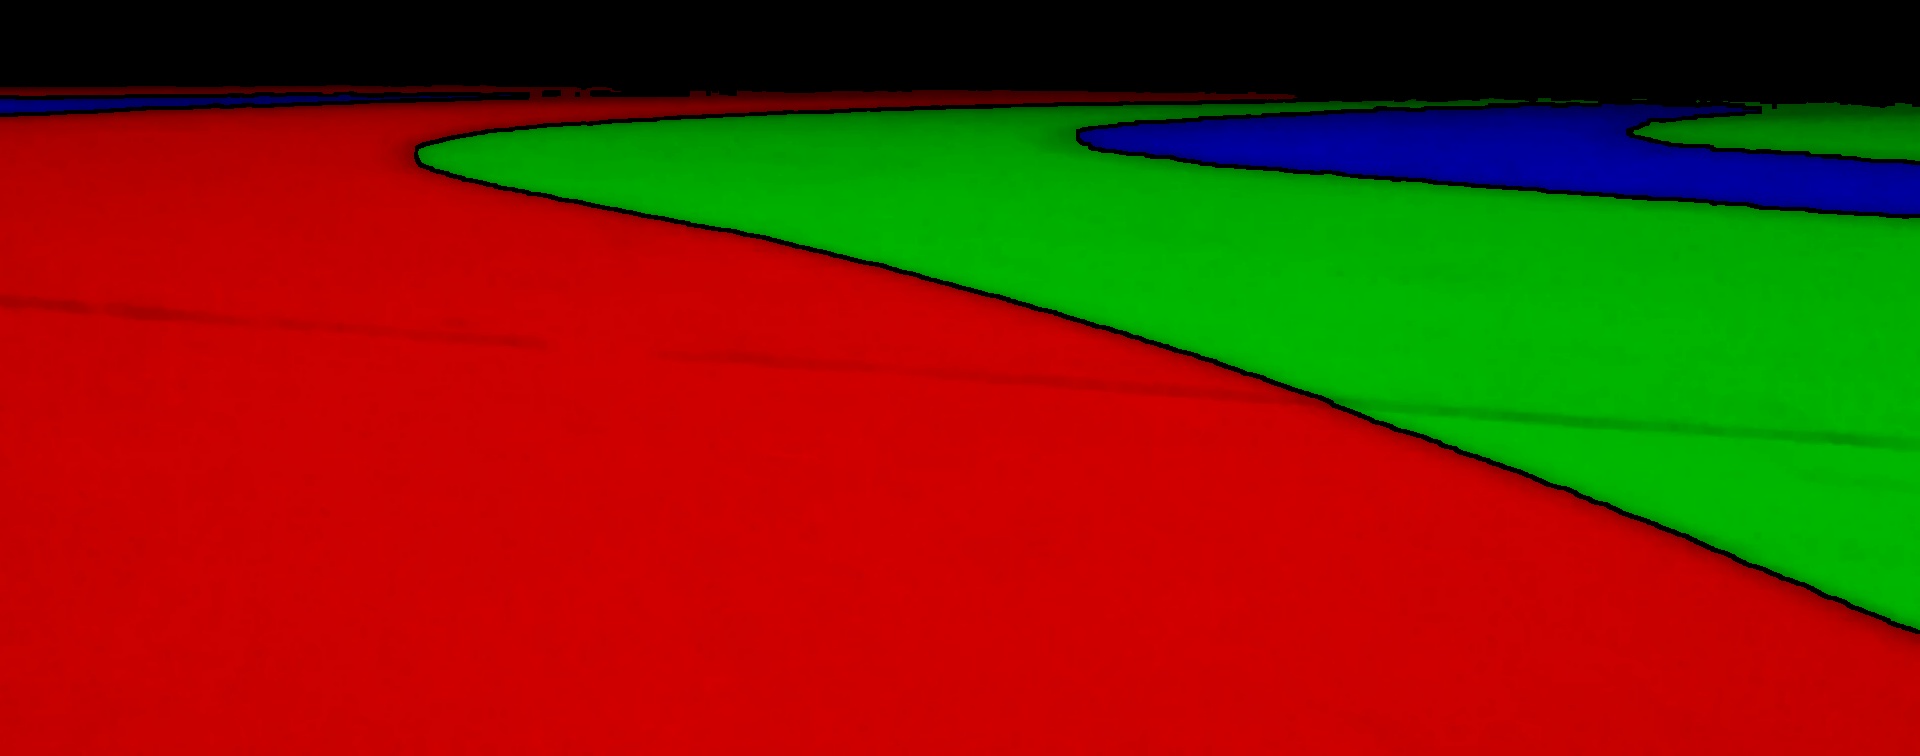
which has clearly defined lanes with black gaps between them.
We can also add the walls in white to the image:
whiteWalls = cv2.merge([walls, walls, walls])
mergedWalls = cv2.addWeighted(merged, 1.0, whiteWalls, 1.0, 0)
cv2.imwrite('mergedWalls.jpg', mergedWalls)
which looks like this:
Now we have the lanes separated we can calculate where we are on the track and where it is heading.
But that will have to wait until next time ^_^
Add new comment