Recording images from MonsterBorg

Yesterday we recorded images from a MonsterBorg driving around obstacles at the same size and rate as our standard code uses for track following. Read on to see how this was done :)
You may recall we took some MonsterBorg self-driving footage before. This made use of the ImageProcessor.writeRawImages plus some small tweaks with the robot driving itself around the track. Doing this did get some good images, but there were quite a few problems as well:
- The delay between the robot seeing something and reacting to it seemed to be larger than normal
- We were only able to capture images at the same size as the code needed for driving
- The code could not keep up with both jobs, causing the steering to get "stuck" for a second or two at times
- When the code got stuck we ended up with gaps in the recorded images
- Some of the images were saved out of order, which is confusing
In order to get around this we had to get around the problem of the Raspberry Pi handling both the recording and the driving. Our solution, two Pis :)
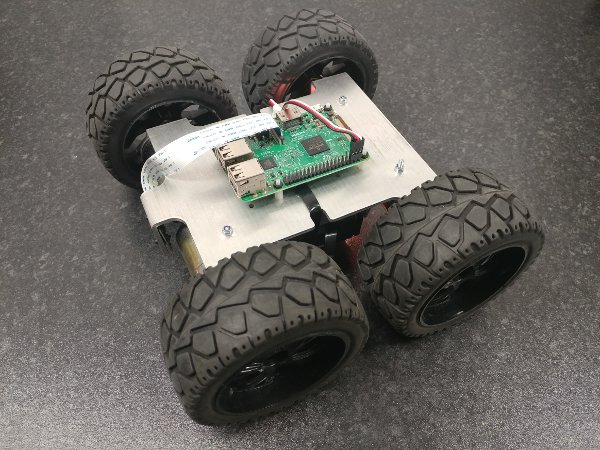
The top Raspberry Pi is responsible for the filming. It is connected to the bottom Pi on GPIO pins 2, 4, and 6 for power and has the connection to the Pi Camera. It is connected to WiFi so we can start and stop recording using SSH.

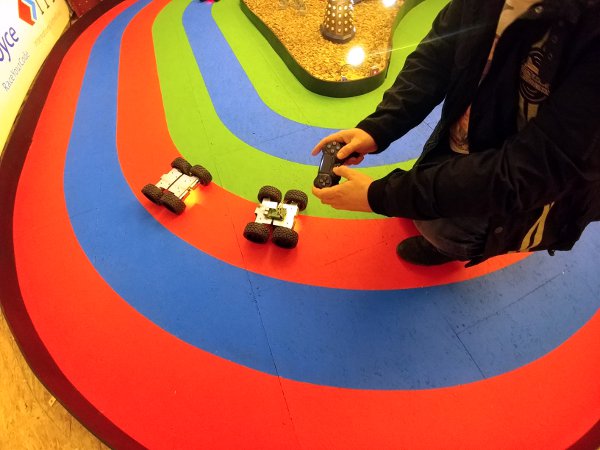
The bottom Raspberry Pi no longer has the camera connection. It is now running our standard monsterJoy.py script and controlled by PS4 remote instead.
By separating the two jobs the top Raspberry Pi has exclusive access to the camera. This allows us to use raspivid to record the images at the size and rate we want without interfering with what the MonsterBorg is doing. This is the helper script we wrote to make the recording easy to setup:
#!/bin/bash

TIMESTAMP=`date +"%Y-%m-%d %H-%M-%S"`
WIDTH=160
HEIGHT=120
FPS=30
TIMELIMIT=0
TARGETDIR="/home/pi/record"
TARGET="${TARGETDIR}/Monster ${WIDTH}x${HEIGHT} ${TIMESTAMP}.h264"
CONVERTED="${TARGETDIR}/Monster ${WIDTH}x${HEIGHT} ${TIMESTAMP}.mp4"

raspivid -w $WIDTH -h $HEIGHT -fps $FPS -t $TIMELIMIT -o "$TARGET"

ffmpeg -r $FPS -i "$TARGET" -vcodec copy "$CONVERTED"
The raspivid command saves the images as an H264 video file. The ffmpeg command then takes the file and turns it into a typical MP4 video playable on most devices. With TIMELIMIT set as 0 you need to press CTRL+C when you want the script to stop filming.
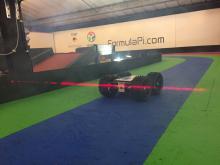
You can see the we footage recorded in our last blog post: MonsterBorg driving around obstacles.
We also did some recording at 1920x1080 and found something very interesting:
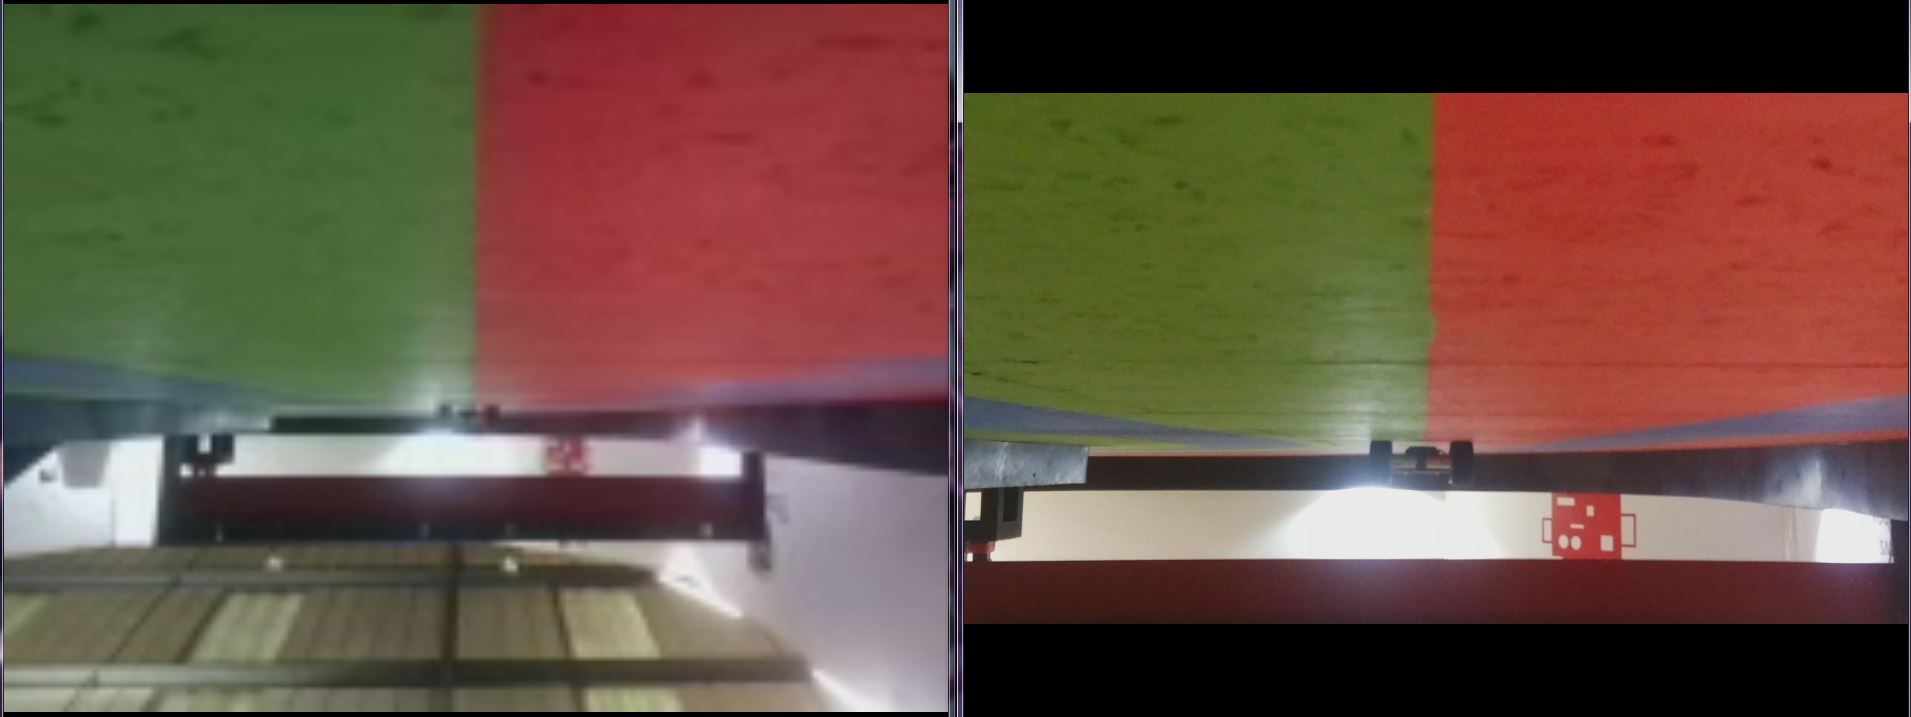
In both shots the MonsterBorg is sat in the same place on the start line ready for the lights. As you can see the high resolution image is much clearer, but also much more zoomed in. In fact the view is so much smaller that it cannot see the lights any more! This is something to watch out for if you are thinking about using camera data at a different resolution.
On the whole this recording setup is a massive improvement on getting the race code to record footage. The only real downside is that it cannot record the MonsterBorg driving itself.
Add new comment