MonsterBorg self-driving footage

So here we have a video from recording raw frames taken by a MonsterBorg while navigating around our track:
The full set of images and the corresponding log files can be downloaded here.
The main reason for wanting these files is to get a better understanding of what the robots actually see compared to what the simulation shows. However there are some issues with the footage taken:
- The Raspberry Pi could not keep up taking every image and driving, as a result occasionally the images have a missing section of time - causing some unintended driving behaviour T_T
- Some frames are swapped in order, this is because of the interaction between the threads and the file system
- The robot is only following the default path, it does not drive over the whole track
- The footage is slightly earlier in the day (about 2:30pm), meaning the track is lit more by sunlight than at racing times
What the footage does show is some of the problems faced when dealing with real camera images over the reasonably clean simulation.
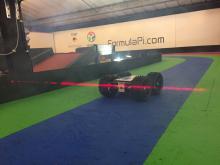
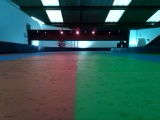
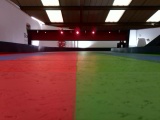
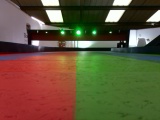
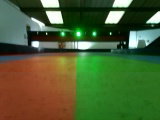
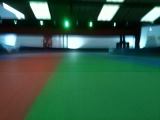
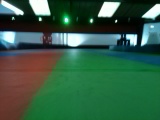
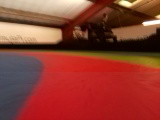
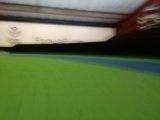
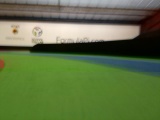
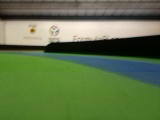
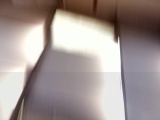
The real track
The first point is a look at the real track from a Monster's eye view: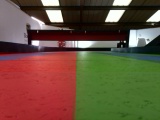
For the most part the simulation is fairly accurate, although it does not model the bits around the track at all. This matters for our example which uses this background to aid in brightness tuning and other things. You can also see what the start line marker looks like from the start line :)
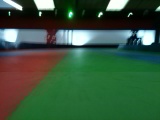
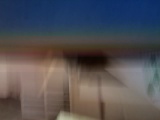
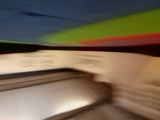
The lights
The next thing worth mentioning is the start lights:
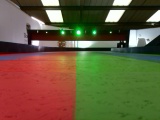
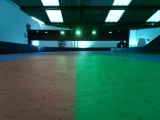
What we can see here is how the camera adapts to the lights. In particular the green lights cause the image to become very blue shifted. This is why our standard example ignores the track for a short while before following it.
It is also worth noting the gap between the first frame of the GO lights (1337) to the first frame we see actual movement (1344) is about seven frames later. This means the robot responded in less than 1/3rd of a second :)
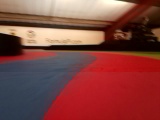
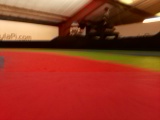
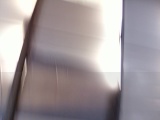
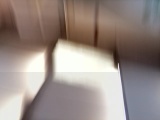
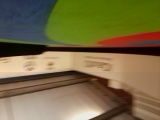
Bumpy images
The next is that the images are a bit bumpy:
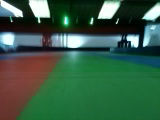

This is a result of the tyres / wheels being slightly out-of-round. At the higher speed of the MonsterBorgs this is more pronounced than it was with YetiBorgs. This causes slight fluctuations in the track readings between frames and is why we average those readings over a few frames.
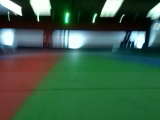
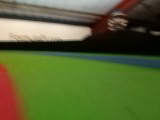
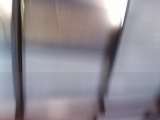
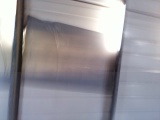
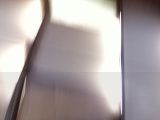
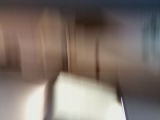
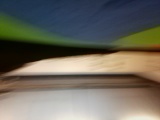
Blurry images
This problem varies, but here is a good example:
There is a lot of motion blur here, coming from a few possible sources:
- Our own driving speed
- The bumpiness mentioned above
- Our turning speed
- Being bumped by other robots
This is part of the reason we have stuck with a low image resolution, with all the blur the details are lost anyway. This means that precise position calculation is not always possible, getting worse as speeds get faster.
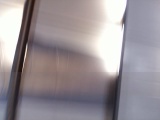
The dreaded S-curve
Here we can see why the S-curve causes so many problems: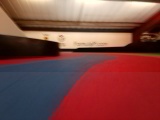
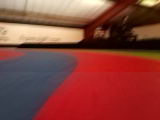
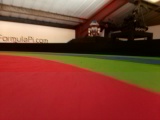

While this is not any different in the simulator it does show why the robots struggle so much to navigate the curve accurately. Quite often they get to the point where they are at such an angle to the track that seeing the lines themselves is difficult...
The inevitable crash
Be it a collision with another robot, poor driving, or trouble keeping up with the images we eventually end up crashing into the wall one way or another:


40 frames later...


Here we see the robot face plant into the wall, then after a bit over a second reverse away again. During this time the robot has no idea where it is, messing up the driven distance calculations in the process.
Flipping over
With crashing into the wall a common occurrence flipping over becomes a real possibility:


This causes all kinds of confusion, as you can probably tell from the broadcasts of the first series :)
One piece of good news is that the MonsterBorgs are better at righting themselves in the same way than the YetiBorgs are. This would be one strategy to solve the problem.
Ideally avoiding both crashing and flipping the robots will improve lap times. It actually wastes a lot of time where your opponents can simply drive around you :(
Upside-down driving
The last mention goes to actually driving upside-down: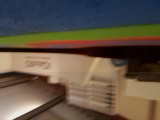


This works basically the same as driving the correct way up. What we do differently is:
- Rotate the image 180°
- Swap the left and right motor outputs
- Swap the positive / negative on the motor outputs
With the YetiBorgs they perform more erratically upside-down, mostly due to the drive outputs. With the MonsterBorgs performance is very similar to the right way up :)
And finally
Hopefully this information sheds some light on the differences between running on the real race track and testing in the simulator.
Any questions or comments leave us a message below, feedback is always welcome :)
Comments
Thomas
Tue, 02 May 2017 - 20:56
Permalink
SD Card
Would be interested in the type of SD Card you are using!
Arron Churchill
Tue, 02 May 2017 - 21:24
Permalink
Fairly standard
Nothing terribly special, just a random class 6, 8 GB card I use for testing code, I do not recall what the brand was. This might explain the performance drops and would probably have worked better with a high-speed card.
The irony is that when the early Raspberry Pis were out we bought a few high and very high speed SD cards for use in them and our photography cameras. These are high enough speeds for 1080p video, but they will not fit in the newer Pis sadly :(
Add new comment