Calibrating YetiBorg camera positions

For the Formula Pi race we need a way to ensure that all of the Raspberry Pi cameras are setup the same.
To do this we need a script to show us what the camera can see and a jig in which to make corrections.
The script is actually fairly simple, it only does two things:
- Get the camera image rotated to be facing the right way up
- Place a grid over the image to show where things should be
The script is run with a monitor attached to the Pi Zero updating the camera image at about 5 frames per second.
This is the view from the camera against a blank wall with the grid drawn over it.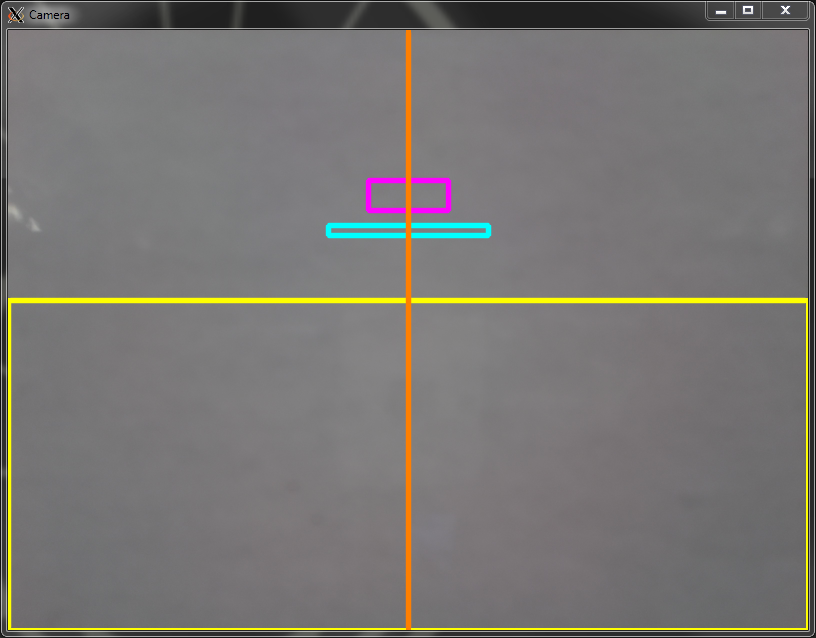
There are four marking on the grid, each with a specific purpose.
- The large yellow box marks where the track detection code is looking at.
This is set bycropX1,cropX2,cropY1, andcropY2inSettings.py. - The thin cyan box marks where the start marker detection is located.
This is set bystartX1,startX2, andstartYinSettings.py. - The small magenta box marks where the traffic light detection region is.
This is set bylightsX1,lightsX2,lightsY1, andlightsY2inSettings.py. - Finally the vertical orange line marks the center of the camera image.
This is always in the middle and should be where the lane is at an offset of0.0
The idea is that the lights should be in the center of the magenta box, the cyan box should be towards the bottom of the red start marker, and the yellow box should surround the track lanes.
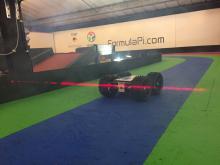
Here is a calibrated robot sat directly on the -1 lane: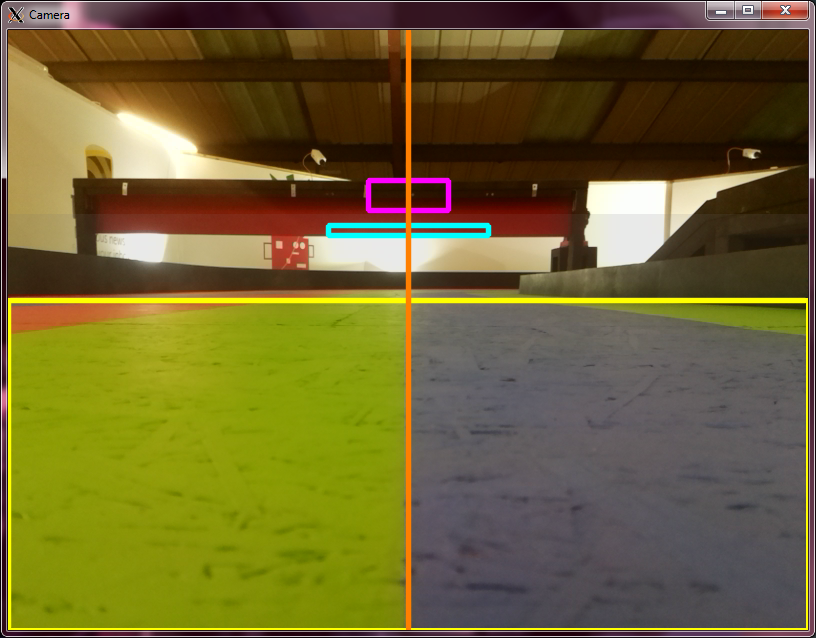
As you can see the yellow box is a little low, this allows for the YetiBorg moving up and down when in motion.
What we do not want is for the yellow box to go past the top of the black walls while racing!
If we now turn on the green lights: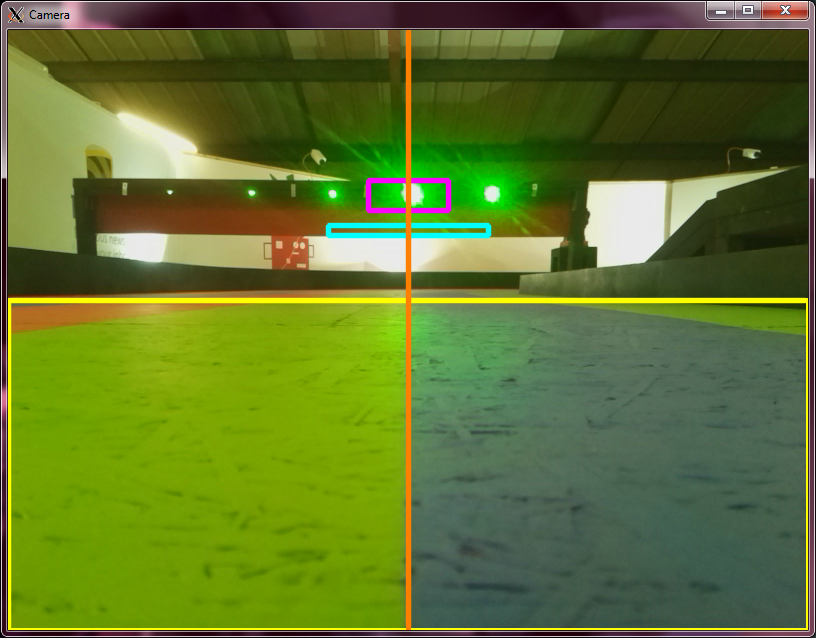
You can see that the green light is almost perfectly central in the magenta detection box.
The box width is approximately the same as the distance between lights.
This ensures that even if the YetiBorg is accidentally placed at an angle it can still see the lights.
Now if we change to the red lights: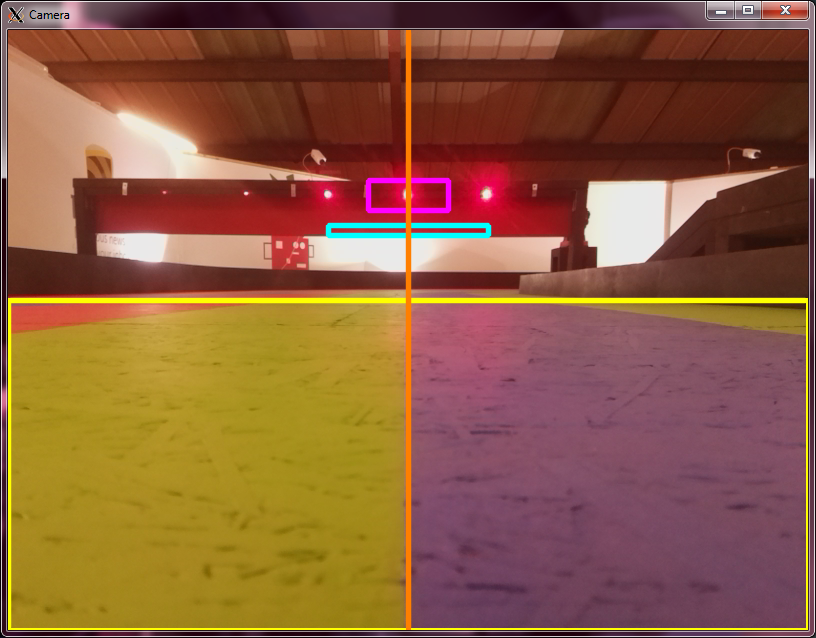
The red light is also almost perfectly central in the magenta detection box.
The red and green lights are on opposite sides of the orange line, meaning that the YetiBorg is directly facing the start marker as it is meant to be :)
We also use this camera calibration script for checking the lights are correctly positioned.
The jig is a set of position markers placed at a fixed 18 inches away from the YetiBorg's camera.
This allows us to do the calibration on a table away from the track.
This is particularly important on race days in case fixes need to be made to a spare YetiBorg when there is racing in progress.
The jig also has a focus sticker along with the other markings:
This allows us to manually adjust the focus on the Pi camera to be set sharpest for 18 inches away.
Add new comment